






 Google
 Github
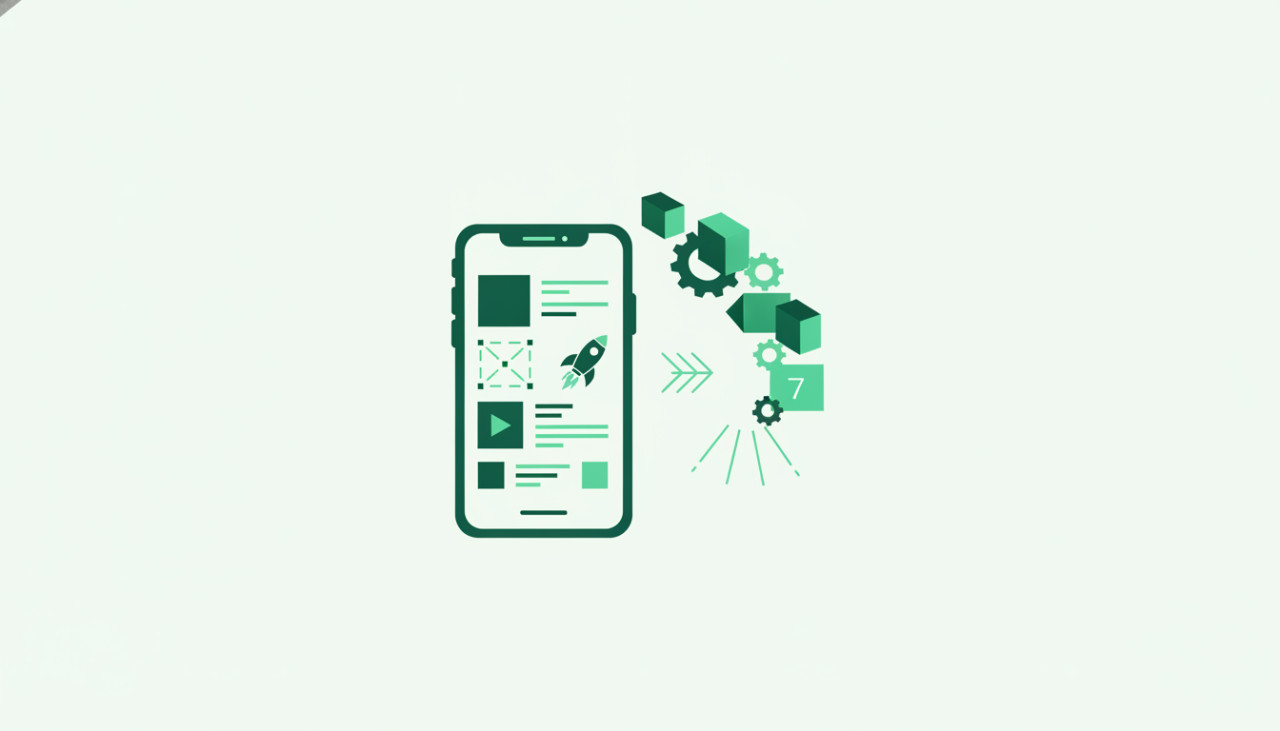
Building a mobile application from scratch used to require months of architecture planning, UI design, backend setup, and rigorous QA testing. For solopreneurs, indie hackers, and lean development teams, this lengthy timeline frequently stalls momentum and burns limited capital before validating user demand. Fortunately, the rise of curated digital marketplaces like SellMyCode has reshaped software deployment. By starting with a production-ready mobile app template, you can skip redundant baseline development and deploy a fully functional product in as little as one week.
Day 1: Choosing and Auditing the Right Template
The foundation of a rapid launch is selecting a source code base that aligns precisely with your long-term roadmap. Rather than choosing solely by visual presentation, evaluate the underlying technology stack, documentation standards, and architectural hygiene.
- Framework Compatibility: Prioritize cross-platform frameworks like Flutter or React Native if you want to deploy simultaneously to iOS and Android. If your app requires hardware-level performance or complex animations, verify native Swift or Kotlin codebases.
- Backend Architecture: Determine whether the template relies on serverless solutions like Firebase or a headless backend such as Laravel, Node.js, or Django. Firebase-backed templates generally allow faster setup with lower maintenance overhead.
- Documentation and Support: Inspect the buyer documentation before diving in. High-quality templates include straightforward setup guides, environment variable keys, and active author support channels.
Days 2-3: Customizing Brand Identity and User Experience
A common pitfall with starter templates is deploying without meaningful visual differentiation. While the core feature logic can remain untouched, your brand identity must stand out to build credibility on app stores.
Visual Transformation
Start by swapping global style definitions rather than manually tweaking individual components. Most modern templates utilize centralized theme files defining color palettes, typography scales, border radii, and spacing constants. Replacing these variables dynamically updates the entire application within minutes. Next, replace all default SVG icons, onboarding illustrations, and splash screens with custom branding created through tools like Figma.
Copywriting and Localization
Review all in-app microcopy, placeholder forms, error handling prompts, and push notifications. Make sure the tone matches your target demographic. If your template supports multi-language capabilities via JSON or ARB localization files, configure key regional languages to immediately broaden your addressable market.
Day 4: Integrating APIs, Payments, and Analytics
Once the front-end reflects your brand, hook up third-party services that power monetization and engagement.
- Authentication: Configure OAuth providers such as Apple Sign-In, Google, or phone OTP within your backend service. Remember that Apple requires Apple Sign-In if any other third-party social login is offered.
- Monetization Infrastructure: Connect your payment gateway. For in-app subscriptions, integrate services like RevenueCat or configure native StoreKit and Google Play Billing. If the template uses e-commerce checkout flows, connect Stripe, PayPal, or Razorpay credentials securely.
- Event Analytics: Implement telemetry using tools such as Mixpanel, PostHog, or Firebase Analytics to track user retention, conversion funnels, and checkout abandonment from day one.
Day 5: Security Audits and End-to-End Testing
Speed must never compromise application integrity. Dedicate an entire day exclusively to security checks and quality assurance.
First, remove all hardcoded development keys, mock endpoints, and testing credentials. Transition all secret keys to secure remote configurations or encrypted environment files. Second, run automated dependency vulnerability scans using package manager security audits. Finally, execute manual user flows across both physical iOS and Android test devices to identify layout clipping on different screen cutouts, memory leaks, and offline handling anomalies.
Days 6-7: App Store Submission and Launch
The final phase involves preparing your store listings to ensure a swift review process without metadata rejections.
- Store Compliance: Prepare a comprehensive Privacy Policy and Terms of Service URL. Disclose every data collection vector required by Apple App Store and Google Play console privacy questionnaires.
- App Store Optimization: Generate high-resolution promotional screenshots displaying core features, write a compelling value proposition in your metadata description, and select primary categorization tags.
- Build Upload and Review: Build release bundles using proper production signing certificates. Submit your binaries early to accommodate potential review turnaround requests.
By leveraging premium pre-built code templates on SellMyCode, launching an app shifts from an exhausting multi-month ordeal into an agile, highly repeatable sprint. You conserve dev budget, eliminate repetitive groundwork, and place your product directly in front of real users when it matters most.
Comments (0)